
Stone Chip Repair
Page 1 of 1

Stone Chip Repair
![]() by Corp Dwayne Hicks Mon Apr 11, 2016 1:13 am
by Corp Dwayne Hicks Mon Apr 11, 2016 1:13 am
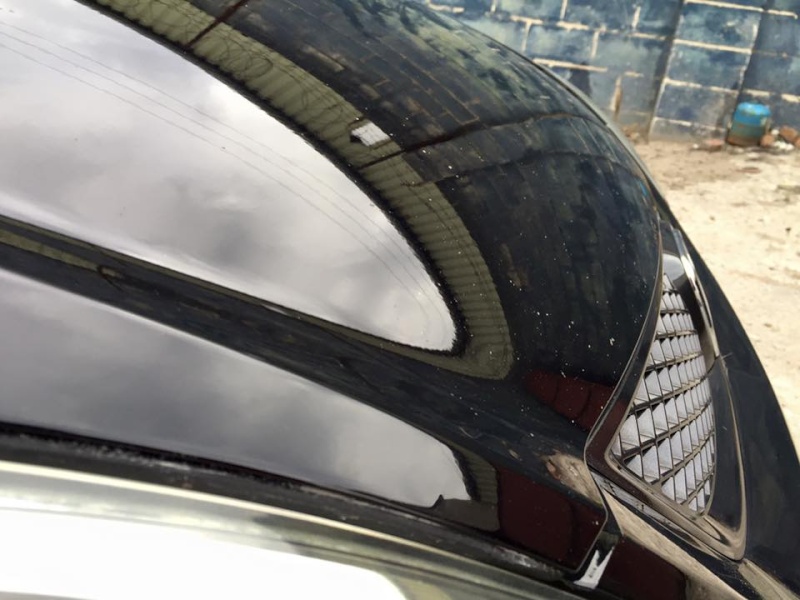
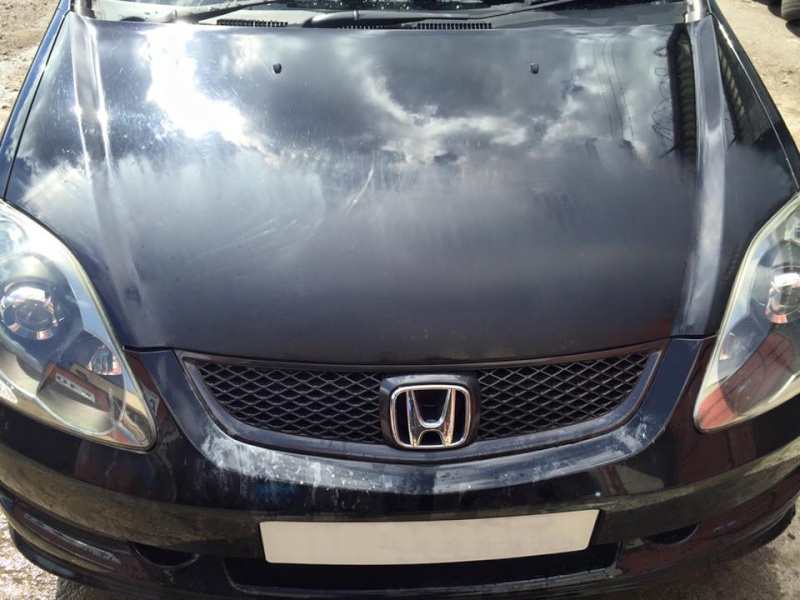
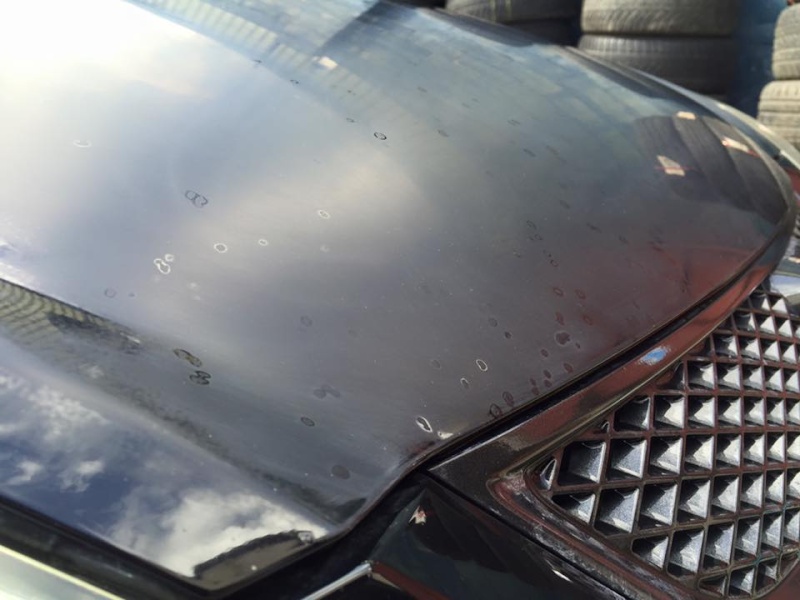
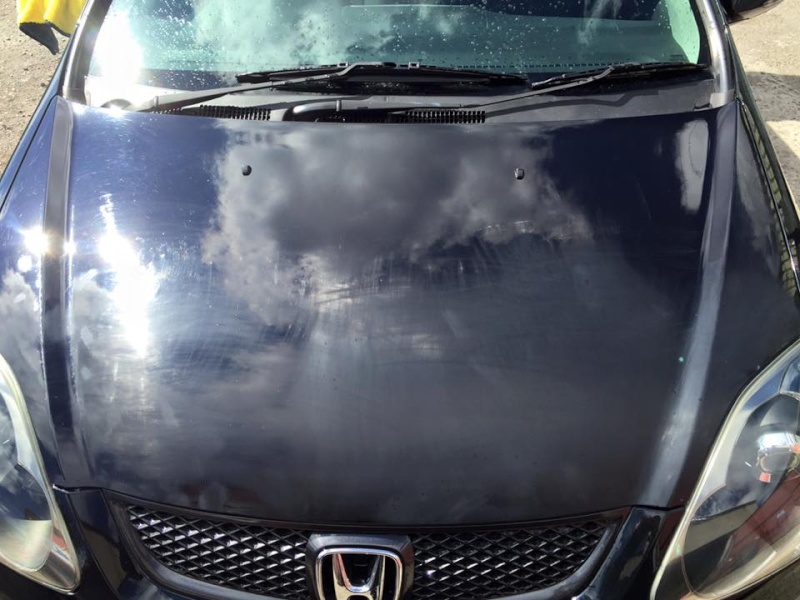
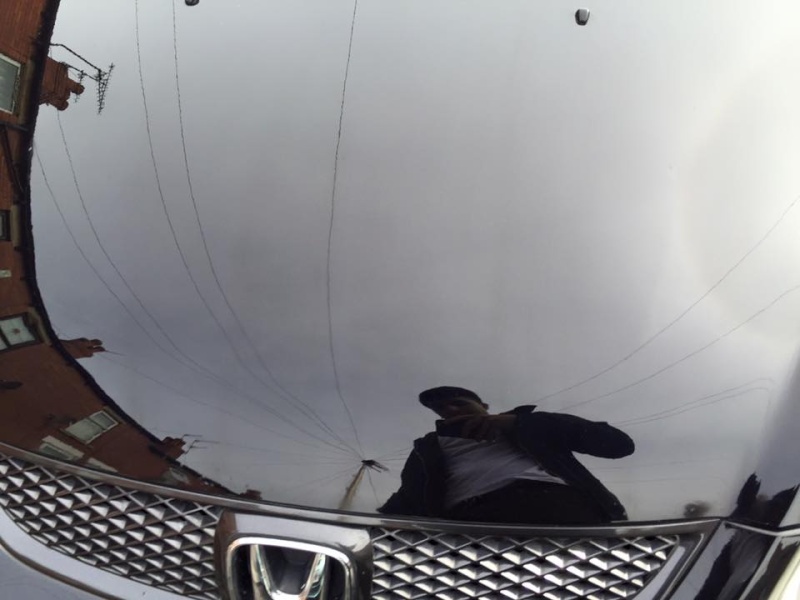
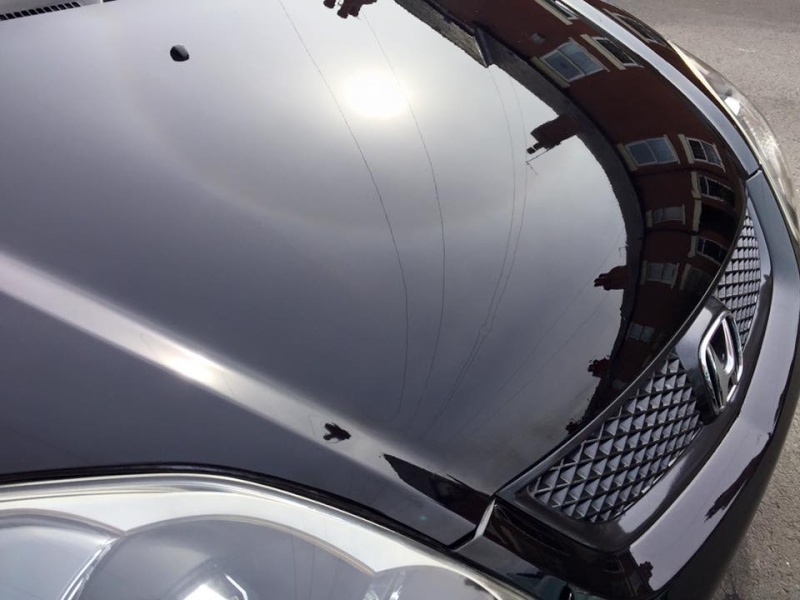
Ok here goes:
1. Clean panel with fairy liquid (it breaks down wax) and clay.
2. Use touch up paint (best to get one with lacquer mixed in) with a tooth pick or a fine brush and dab into the chip. The key is to layer it on if they’re deep and wait at least 20 mins between the layers. (if they’re not deep then you’ll get away with one layer of paint)
3. Once all dry. Wet sand 1200, 2000, 2500, until paint is level.
4. Polish using medium pad and medium grit then fine grit.
edit: 5. Don't forget to wax
It was the first time I used a das6 pro and had no idea what type of pad and polish to use lol. So just experimented.

Corp Dwayne Hicks- Admin
- Posts : 74
Reputation : 0
Join date : 2016-03-12
Location : London -

» How to repair an Xbox Remote Control - Decoupling Capacitor Fix
» Removal of "The chip" in a Sony Playstation SCPH1002
» Six Must Read Tips For A Successfull PS2 Mod Chip Installation
» Removal of "The chip" in a Sony Playstation SCPH1002
» Six Must Read Tips For A Successfull PS2 Mod Chip Installation
Page 1 of 1
Permissions in this forum:
You cannot reply to topics in this forum|
|
|